3-Step Process to
Achieving
Long-Lasting Protection
Step 1: Cleaning and Surface Preparation
Step 2:
Restoration and Crack Repair
Once the surface is clean, the next step is to restore the integrity of the walls by addressing any cracks, imperfections, or damaged areas. Cracks, whether small or large, compromise your home’s defense against moisture and environmental damage, making it vital to repair them before applying the protective coating.
How to Address Cracks and Imperfections:
Small Hairline Cracks: These minor cracks can occur due to temperature changes, foundation settling, or normal wear and tear. They may seem insignificant, but if left untreated, they can widen over time and allow moisture to penetrate the walls.
Larger Cracks or Structural Damage: In cases where cracks are more severe, such as those caused by shifting foundations or extensive weather damage, more significant repair work may be required to restore the surface.
Filling and Repairing Techniques:
Polymer Resin Filling: For small to medium-sized cracks, professionals often use a high-quality polymer resin to fill and seal the gaps. This material is flexible, allowing it to expand and contract with the building’s natural movements, preventing future cracking.
Slush Coating: If there is significant damage to the surface, such as crumbling render or blown brickwork, a slush coating made of sand, cement, and latex is applied. This creates a smooth, even surface and restores the structural integrity of the wall.
Masking and Protection: During the restoration process, professionals carefully mask all windows, doors, and surrounding areas to protect them from dust, debris, and the coating application. Plants, lawns, and other landscaping are also covered with tarps to prevent any accidental damage.
By properly repairing cracks and imperfections, the wall is restored to a smooth, even surface that is ready for the protective coating. This step ensures that the coating will adhere evenly and last for many years.
Step 3: Applying the Protective Coating
Primer Importance:
Uneven Porosity: Many exterior surfaces, especially older or previously painted walls, have areas with uneven porosity, meaning some parts absorb more paint than others. The primer helps to create a uniform surface, preventing uneven absorption and ensuring a consistent finish.
Strengthening the Bond: By applying a specially formulated primer, the bond between the wall and the protective coating is significantly strengthened, which is critical for long-term performance.
How Professional Application Ensures an Even, Durable Finish:
Multiple Layers: For maximum protection, the coating is often applied in multiple layers. The first layer acts as the base, while additional layers enhance durability, thickness, and resistance to environmental factors like UV rays, rain, and wind.
Final Inspection: After the coating is applied, professionals conduct a final inspection to ensure that the entire surface has been properly covered and that the finish is smooth and uniform. Any areas that need touch-ups or additional coating are addressed before completing the job.
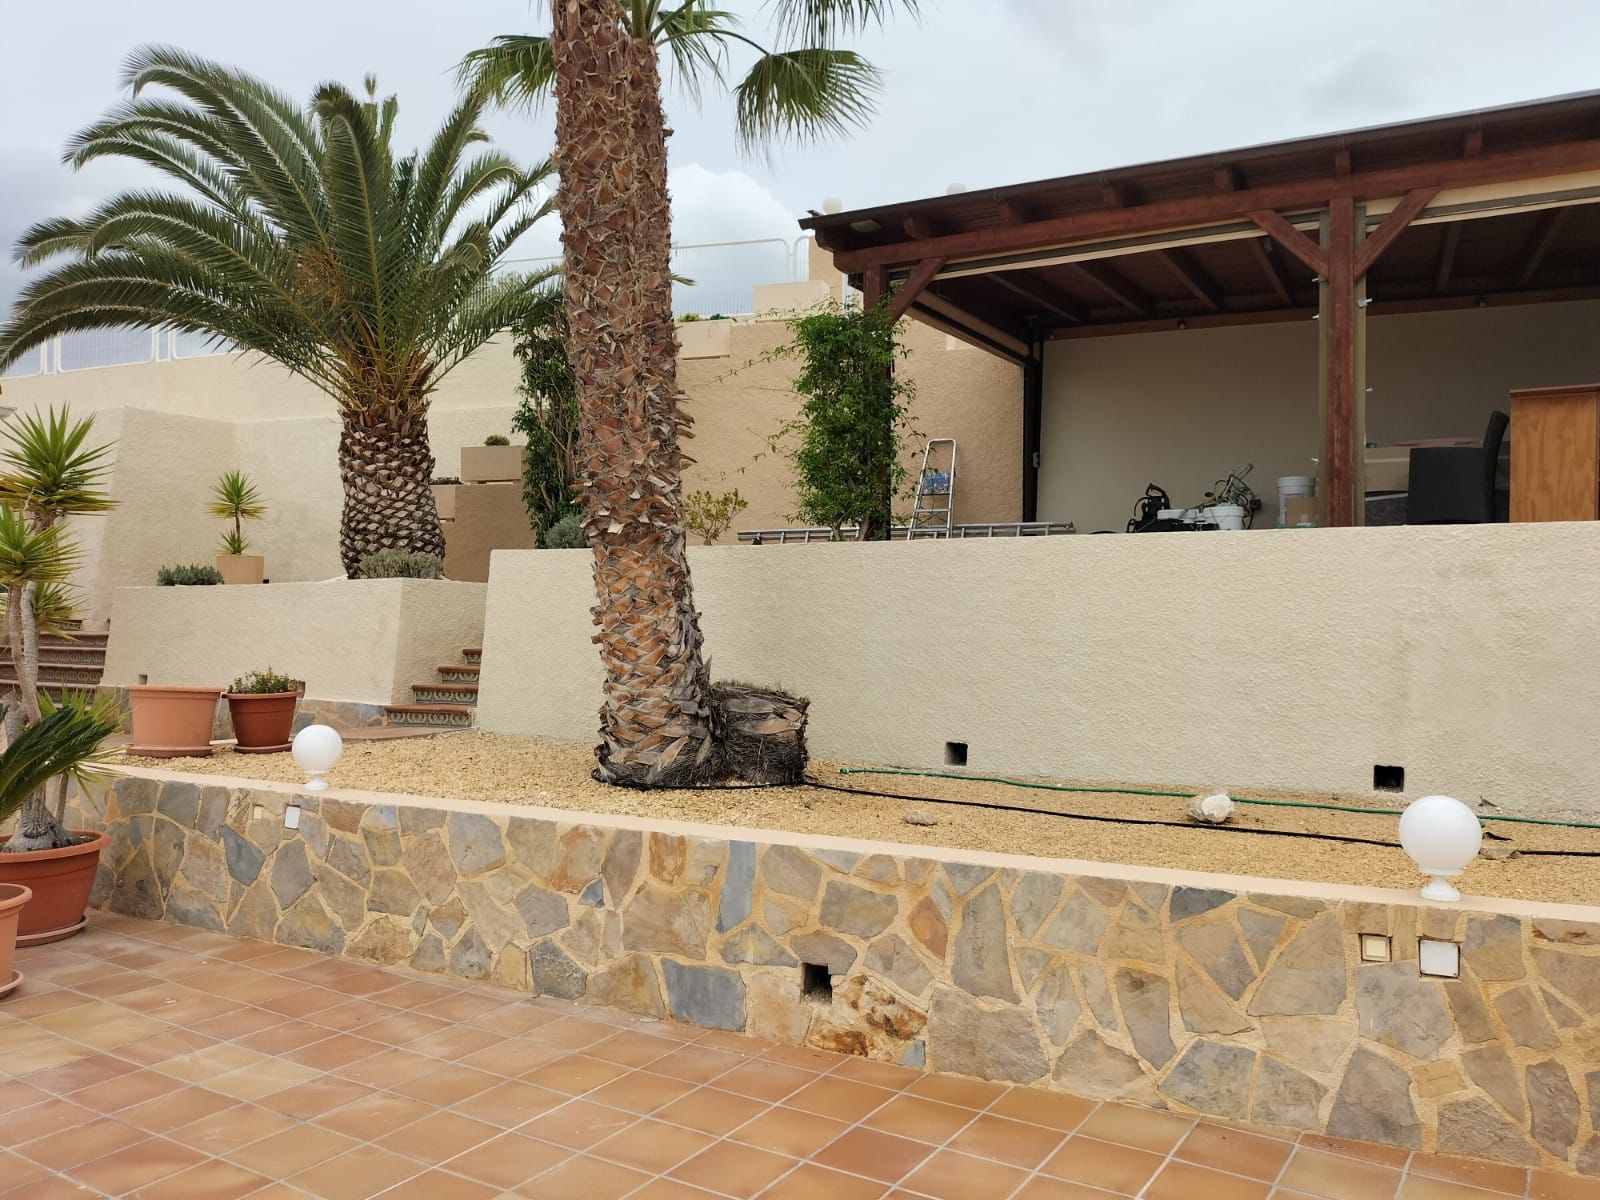
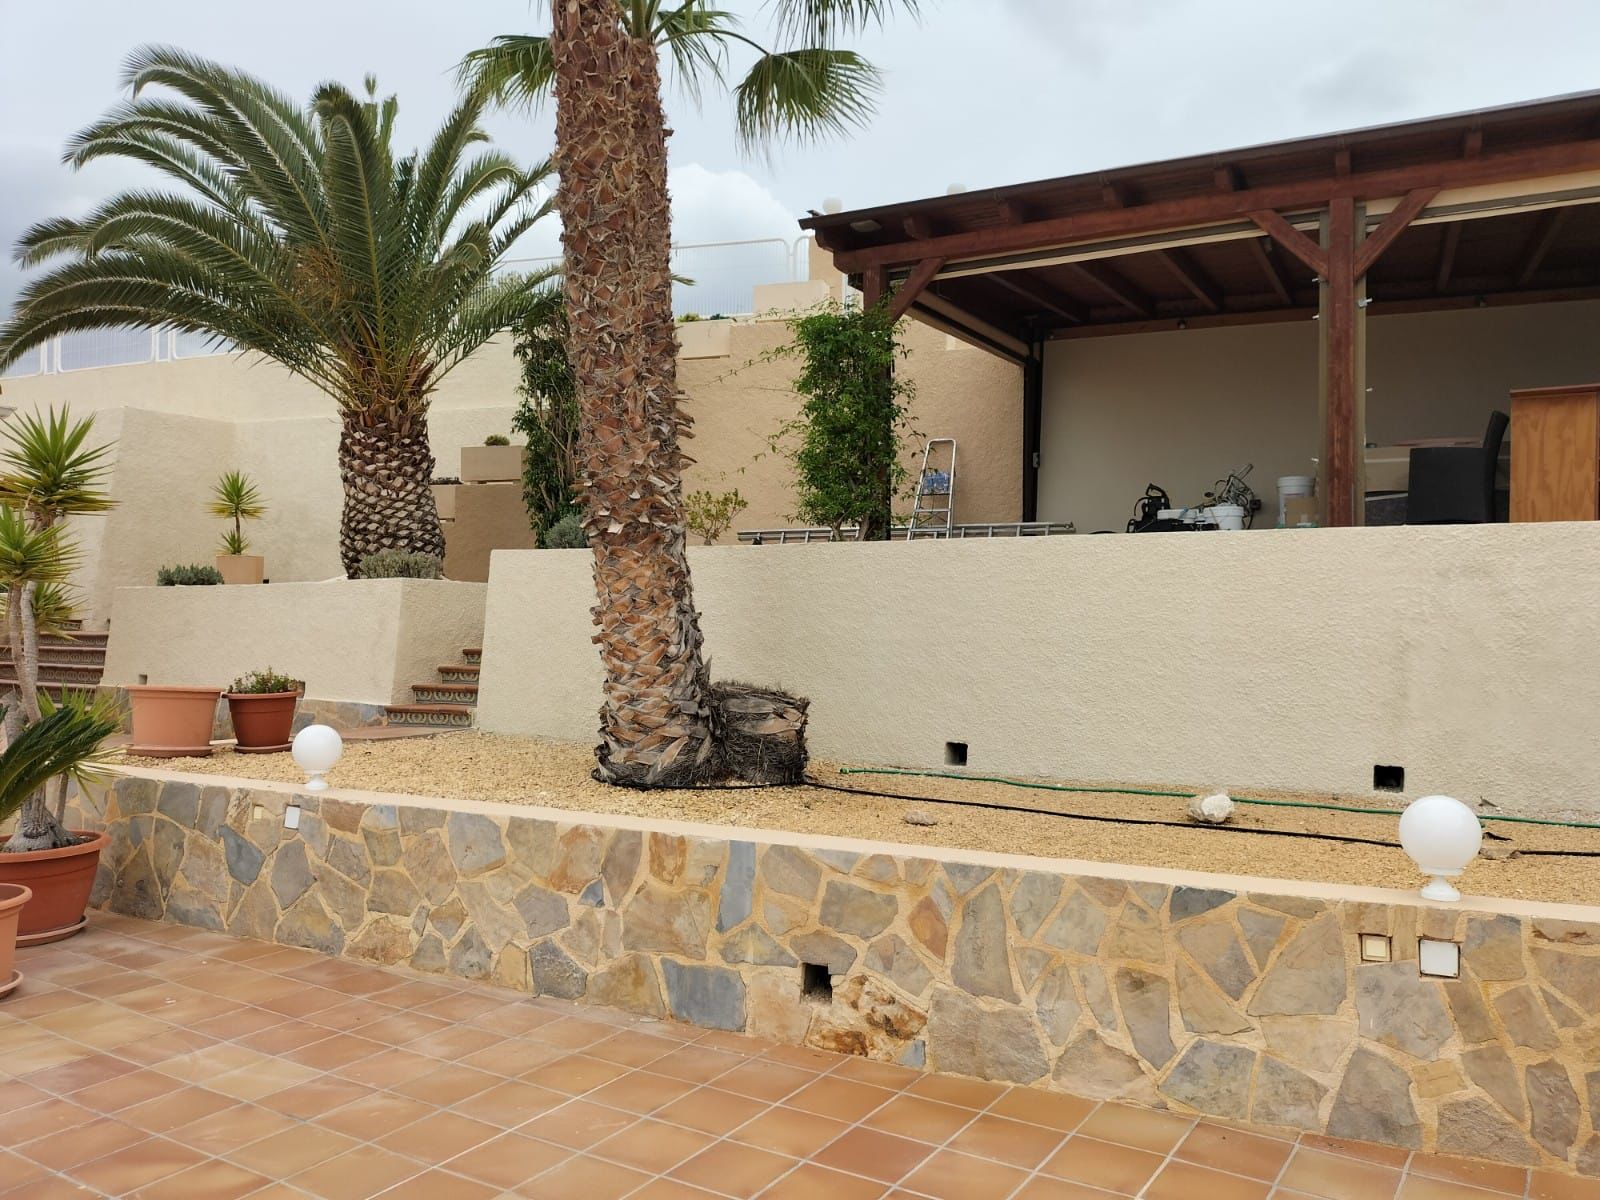
The result of this meticulous process is a durable, weatherproof, and aesthetically pleasing exterior that can withstand harsh environmental conditions for 15 years or more. By following these three essential steps—cleaning and surface preparation, restoration and crack repair, and professional application—your home’s exterior will be protected against the elements, ensuring long-lasting beauty and protection.

