Thermal Insulation
What are SATE insulating panels?
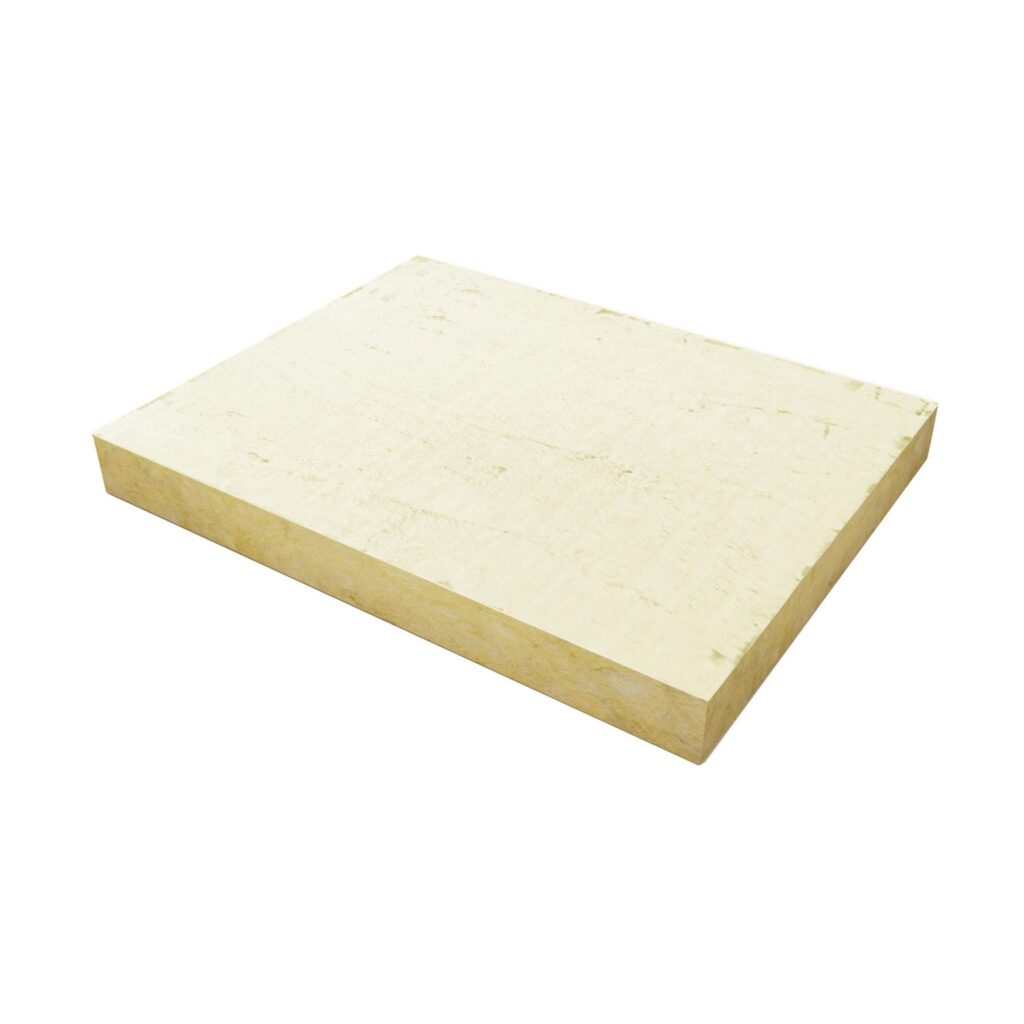
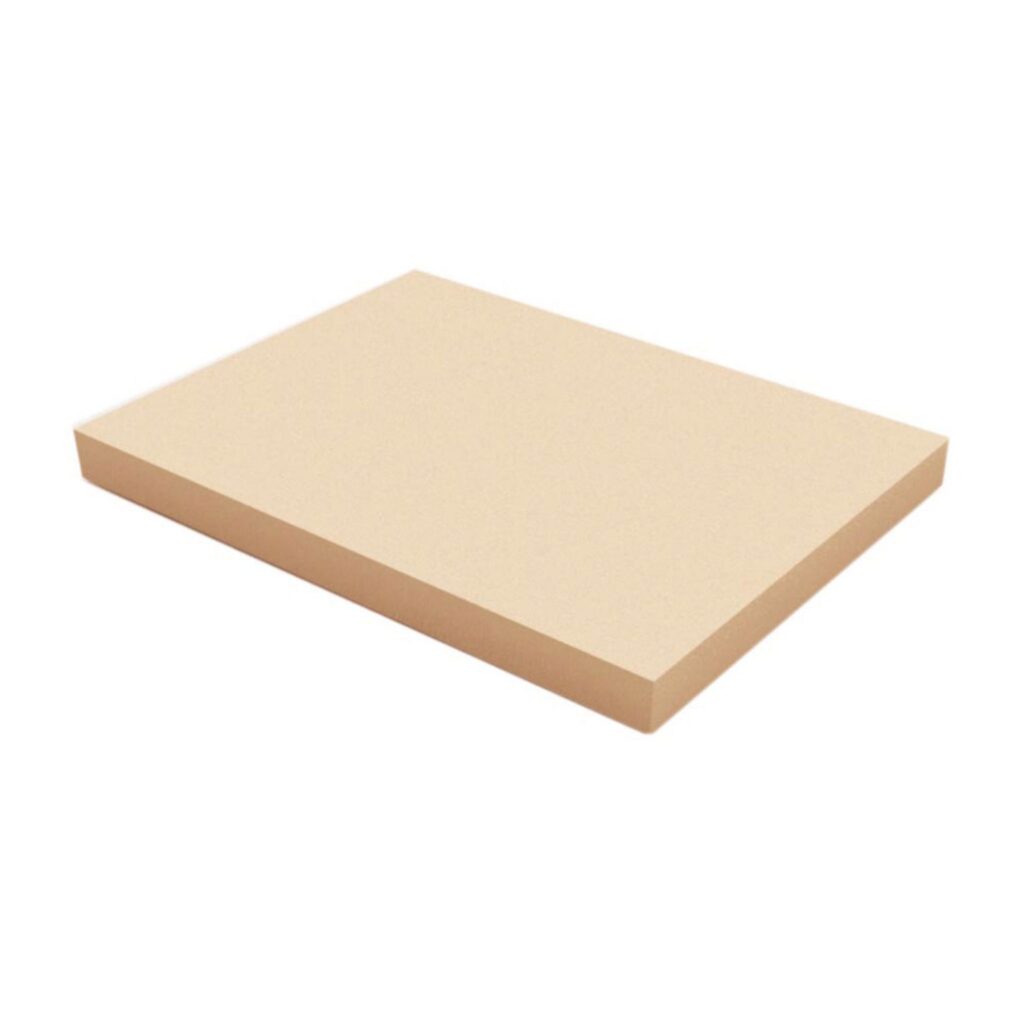
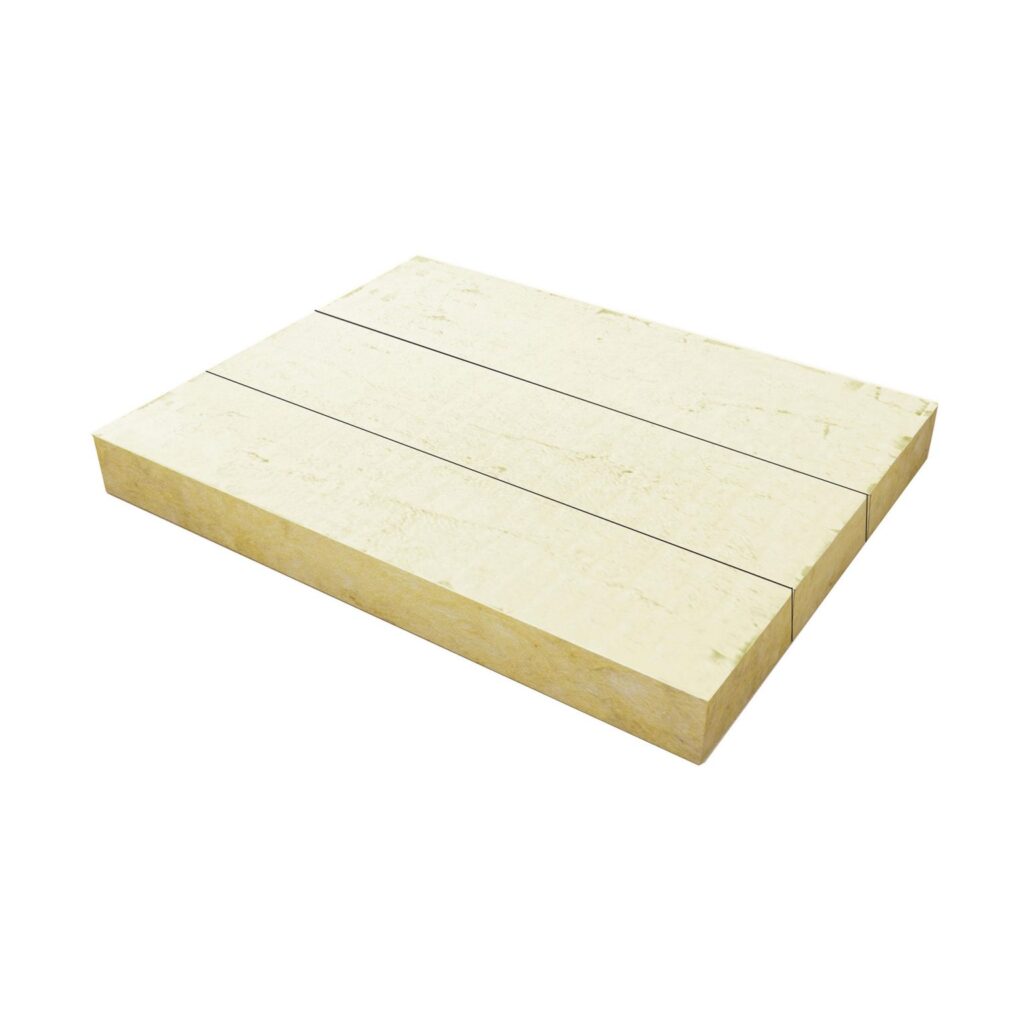
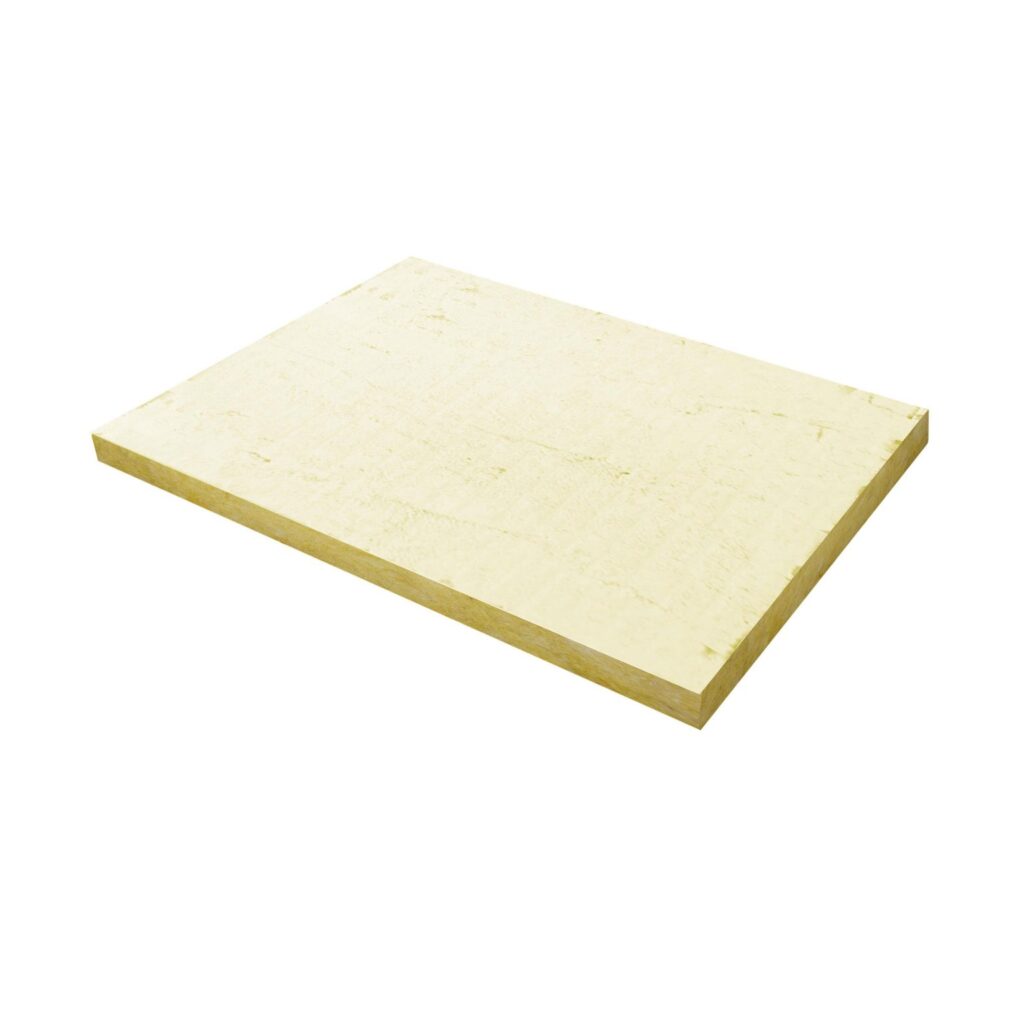
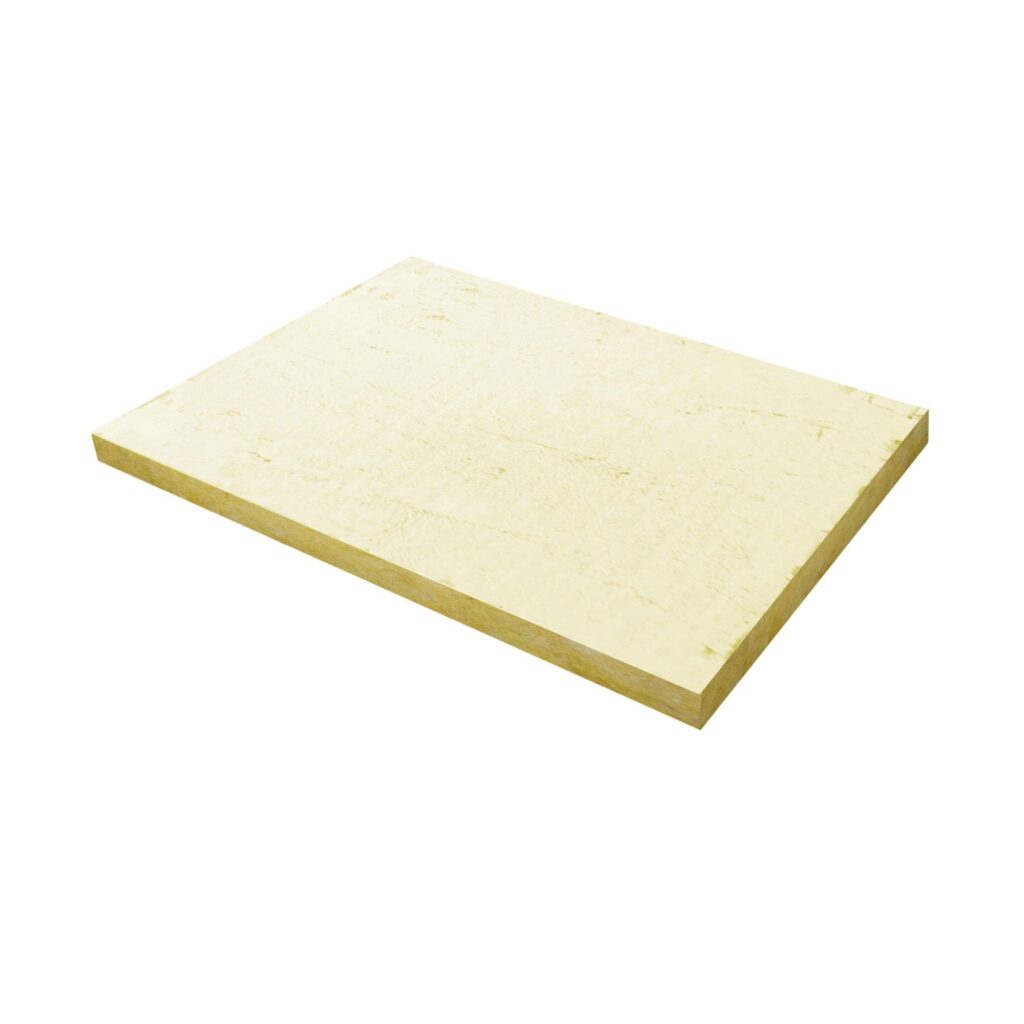
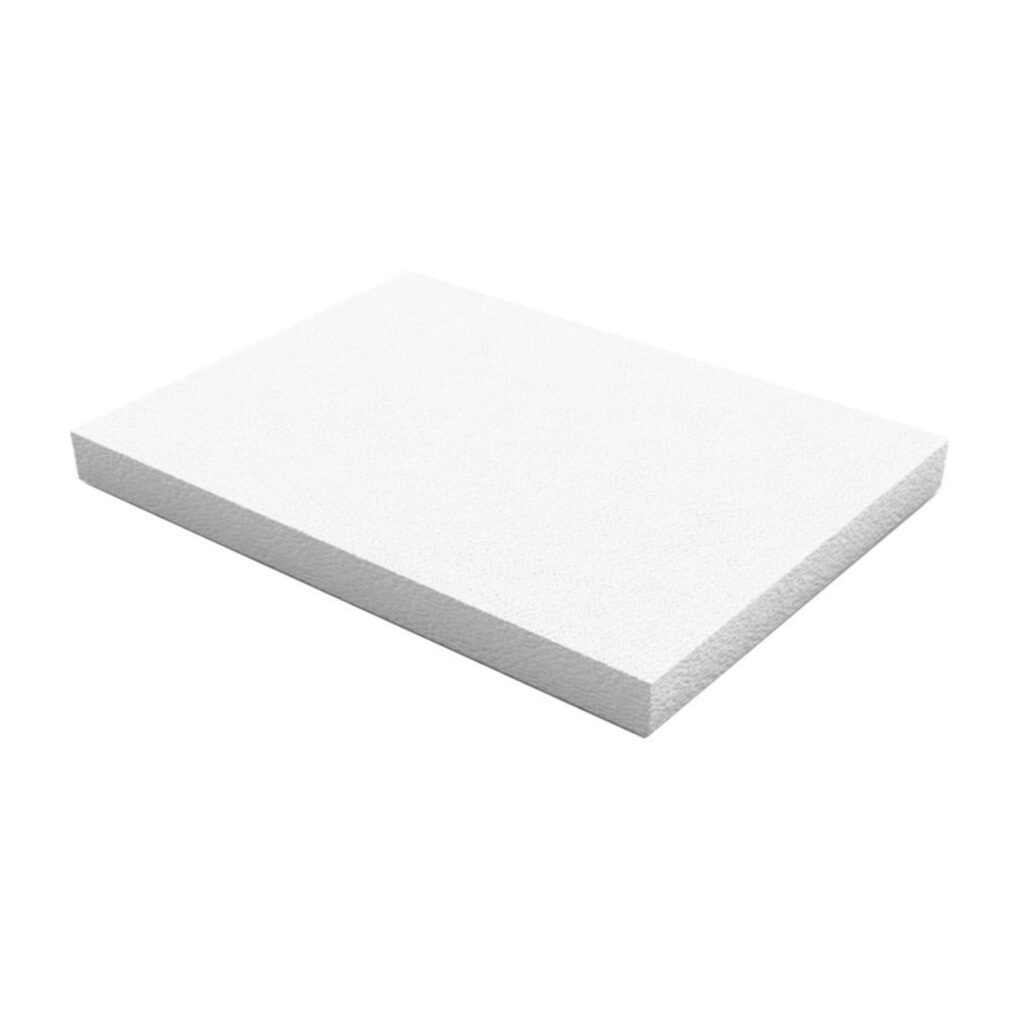
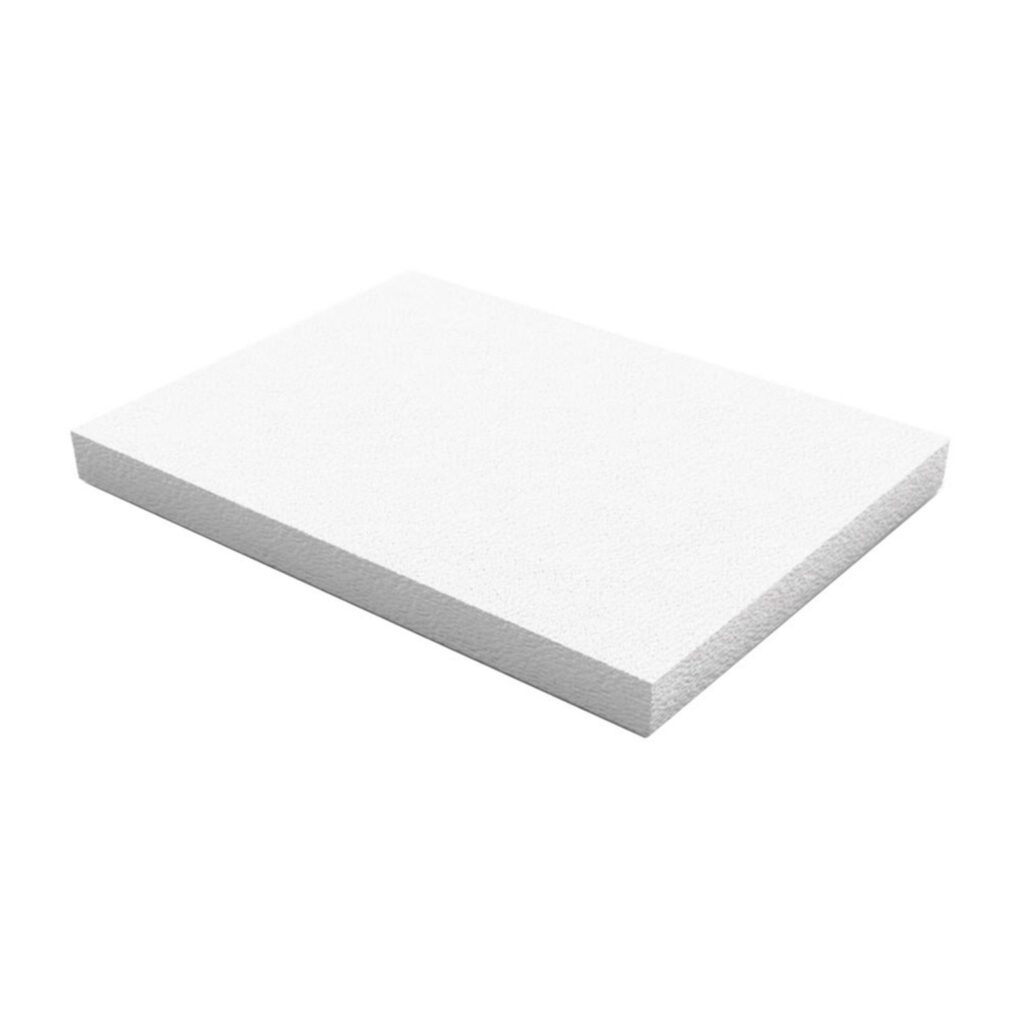
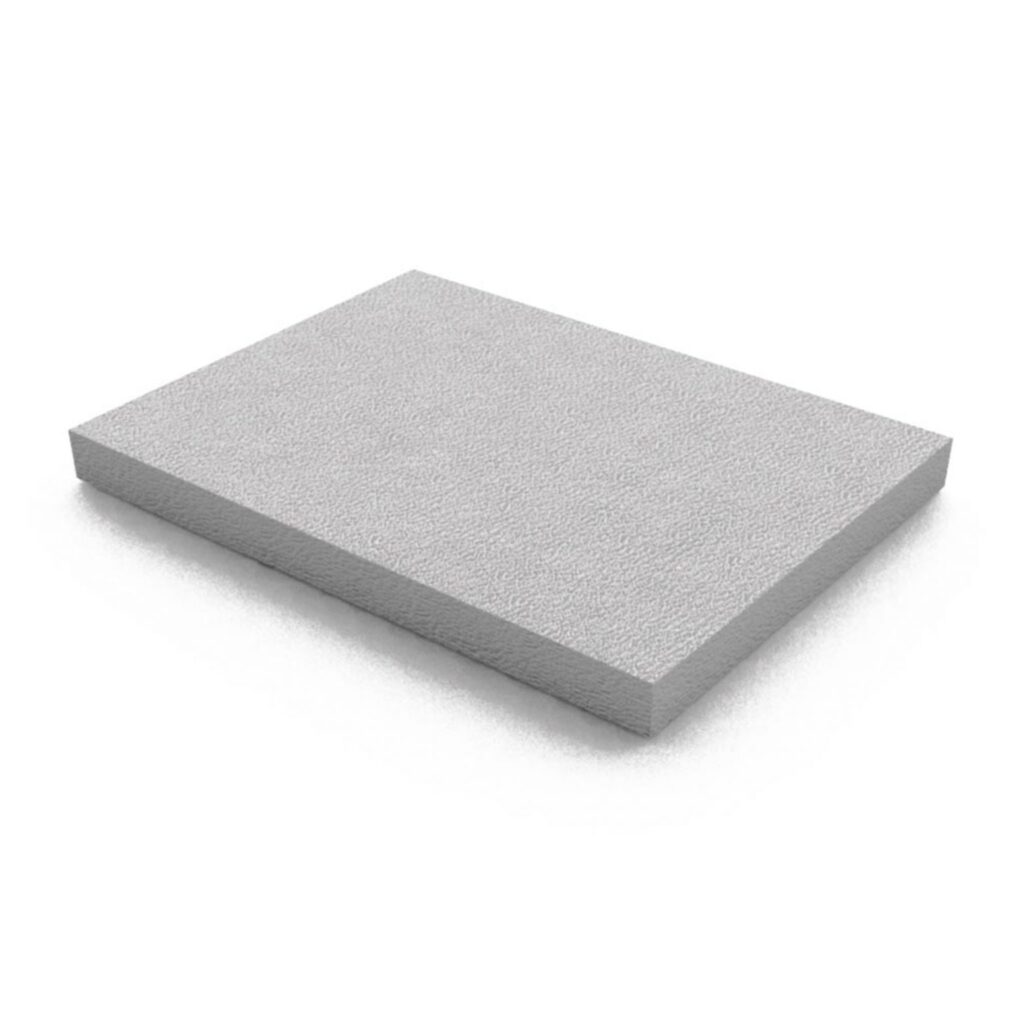
SATE panels are the main element of external thermal insulation systems, providing insulating capacity.
The choice of the most suitable insulation panel is the responsibility of the technician and energy simulation programs can be used for its sizing.
Our SATE panels guarantee dimensional stability and their behaviour against shear stresses thanks to the ETE that supports them.
The Rhonatherm® EIFS is a comprehensive system endorsed by a European Technical Assessment (ETA) which specifies the insulation material that forms part of the system. The specifications of the insulation material and the rest of the components must be recorded in the ETA for the suitability of the specific system. At a European level, a standard is being developed for the entire system which includes, among others, the minimum requirements for the different insulation materials used in the Rhonatherm® EIFS.
Installing SATE: How to install SATE: step by step
Step 1: Boot the system
Installing the SATE begins with the placement of the starting profile.
Using a chalk line, you will need to mark a starting line. The starting profile is placed on this line, where the points for the starting profile blocks are also marked and placed.
There must be a gap of 2 to 3 mm between the profiles and there must be a fixing of at least 5 cm from the ends of the profile.
In addition, the connectors are placed between the profile and without overlapping, between the support and the starting profile, the spacers will be placed.
Step 2: Placing insulation panels
The second step on how to install SATE consists of preparing the adhesive following the manufacturer’s instructions and finally achieving a homogeneous and lump-free consistency. It must rest for about 5 minutes before being applied and be applied before it hardens. Rhona T700 is a cementitious mortar based on cement, selected aggregates and synthetic resins that is indicated as an adhesive and plaster for insulating panels. It contributes to LEED and BREEAM certifications.
There are several methods for applying the adhesive: the notched trowel method, the perimeter bead method and the central peeling method, as well as the application by mechanical means. It should be noted that different SATE panel materials require different contact surfaces.
After applying the adhesive, the insulation panels are placed immediately, starting from the starting profile and in horizontal rows from bottom to top.
Among other recommendations, it is advisable to take protective measures against fire by creating firebreaks.

Step 3: Placing the system fixing plugs
Fixing plugs are complementary to the gluing of the panels and guarantee the durability and effectiveness of the SATE.
24 hours must pass after gluing the panels. Then, holes are drilled (8 mm drill bit and depth at least 1 cm deeper than the plug) to insert the plugs. It is possible to choose between impact plugs and screw-in anchor plugs , both of which have different impact on installation processes.
Step 4: Reinforced base cover
Step 5: Placing the system fixing plugs
Fixing plugs are complementary to the gluing of the panels and guarantee the durability and effectiveness of the SATE.
24 hours must pass after gluing the panels. Then, holes are drilled (8 mm drill bit and depth at least 1 cm deeper than the plug) to insert the plugs. It is possible to choose between impact plugs and screw-in anchor plugs , both of which have different impact on installation processes.
Step 6: Treatment of singular points
The next step when installing an EIFS includes applying reinforcements to façade openings, specific protection to edges, window frames, drip caps and copings, where elements with different expansion coefficients meet, and expansion or structural joints.

